Building a project guitar (the pleasures and pitfalls) part 1
15 March 2009
There are usually two reasons for building a 'project guitar'. One is that you've never had quite the guitar you wanted, and yet you know exactly what it is you want, and the second is budget. Yes, you know you could build the guitar of your dreams for a quarter of the price that boutique guitar builders charge. Furthermore, you can stagger the cost, and tweak to your heart's content by buying the parts only as the guitar develops.

Well dear readers, that's what I did. And before you start on this foolhardy, but oh so satisfying path, maybe you should take a little time to learn from one who has been to the mountains, climbed to the very peak and seen the whole of the moon. Erm... that would be me.
Kit Guitar
Strats and Teles lend themselves particularly well to guitar building projects, because they are essentially 'kit' guitars. With a few exceptions, the format hasn't changed in fifty years, and it all relies on screws and bolts - no finicky hide glue pots here. If you want to replace the pickups, the scratchplate, the bridge, even the neck or body, then the tone of your dreams lies just a click away on the fabulous interweb. Make your choice, wait until the part arrives and then screw and bolt it into position. Ah! If only life was that simple!
If only life was that simple
The biggest problem is that you're buying by mail-order. You don't have the luxury of trying out your guitar first, and when your guitar is built of wood, that's a problem, because each piece of wood is unique and so each piece of wood is going to behave differently.
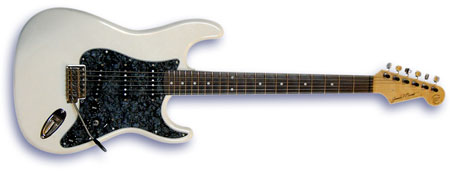
In my case, I bought an alder Strat body from Warmoth (pre-drilled) and fitted a quality OEM bridge from the same company. The guitar went out of tune as soon as I used the tremolo. So I replaced the bridge with a Wilkinson Vintage Steel Block Trem (WVCSBCR) and continued to have the same problem.
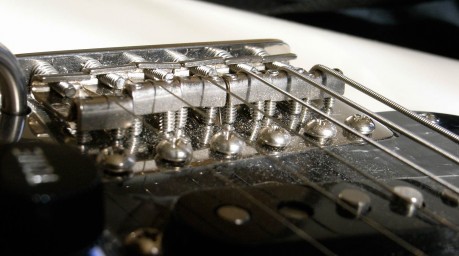
I replaced the Wilkinson bridge with a Callaham vintage narrow bridge, but by this time I'd noted that at least two of the six screws which bolted the bridge in position had no grip on the wood - they fell into position and had to be slipped out with pliers because the wood had no thread.
In the end, I packed four of the six bridge mounting holes with hardwood toothpicks and the really loose ones with walnut dowel bought from a hobby and models shop, but by then I'd come across another problem.

The bridge mounting screws on a strat
Another problem
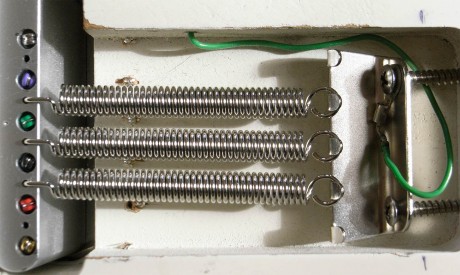
Bill Callaham's stainless steel bridge mounting screws were an 1/8th of an inch longer than the wood was deep. When I contacted him to point this out he was gracious enough to reply. Callaham screws aren't too long, my guitar body is routed too deep (or the body is thinner than it should be). Whilst visible screw tips aren't much of an issue in the back of a guitar, and normally covered by a backplate, I understand Bill's claim that the missing wood would (Woah! - can I type 'wood would'? - 'Yes you can, oh yes you can can') mean a difference in tone to a body with less routing.
Well, not being too keen on buying a new body, I fitted the bridge and let the screws stick out. I still get tuning problems if I use the tremolo roughly, and sometimes I'm tempted just to screw the thing down flat - although the problem might also be solved at the other end where my hand cut graphite nut sits.
But if I screw it down flat, the bridge is too low to clear the strings above the fingerboard. Yes, another issue which we'll deal with in Part 2.


Add new comment